Rat hippocampus CA1
This Use Case places hippocampal neurons into a volume defined by an atlas. The Use Case can be found in Online Use Cases/Circuit Building/Cells placement/Hippocampus CA1.
Approach:

The workflow is a sequence of independent steps manipulating volumetric data retrieved from the Neuroinformatics Platform. Each steps defines additional properties of the cells.
The sequence of steps is the following:
Define the region of interest based on the parcellation given by the atlas
Define cell positions based on given neuron densities
Define excitatory/inhibitory properties based on given ratio
Define ME-Type properties based on M-Type and E-Type ratio
Define the morphology to be used based on available morphologies and previously defined properties
Define cell orientation based on a computed orientation field in the volume
Input data:
Volume
Volume was adapted from Ropireddy et al., 2012
Cell composition
Total number of cells: 350000 (adult rat - Bezaire and Soltesz, 2013)
EI ratio: 89:11 (adult rat - Bezaire and Soltesz, 2013)
Percentage of neuron types from (Bezaire and Soltesz, 2013 - adult rat)
Morphoelectrical-type composition
We collected 146 electrophysiological single cell recordings from different neuron types (Alex Thomson, Audrey Mercer and colleagues) (Wistar rat - for the methods see Hughes et al., 2000; Pawelzik et al., 2002). We classified the recordings on the basis of stereotypical firing patterns (electrical types, e-types) according to the Petilla Convention (Ascoli et al., 2008) in response to depolarizing step current injections. For some e-types, we had too few recordings and for this reason we restricted the e-types to classical accommodating (cAC), bursting accommodating (bAC) and classical non-accommodating (cNAC). Each morphology type (m-type) can show multiple firing patterns, leading to different morpho-electrical types (me-types).
cNAC |
cAC |
bAC |
|
|---|---|---|---|
Ivy |
33.33% |
0.00% |
66.67% |
OLM |
0.00% |
100.00% |
0.00% |
PVBC |
70.00% |
0.00% |
30.00% |
CCKBC |
0.00% |
100.00% |
0.00% |
BS |
75.00% |
0.00% |
25.00% |
AA |
0.00% |
0.00% |
100.00% |
SCA |
0.00% |
100.00% |
0.00% |
PPA |
0.00% |
0.00% |
100.00% |
IS1 |
0.00% |
100.00% |
0.00% |
IS3 |
0.00% |
100.00% |
0.00% |
Tri |
0.00% |
100.00% |
0.00% |
Executing the Use Case
Execute the cell (SHIFT + ENTER) in the “Cell Placement Hippocampus Setup” notebook. Then navigate to the “Cell Placement Hippocampus” notebook and execute them sequentially (SHIFT + ENTER).
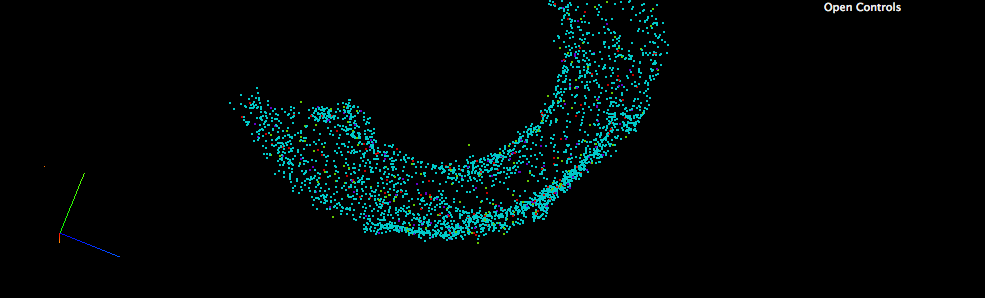
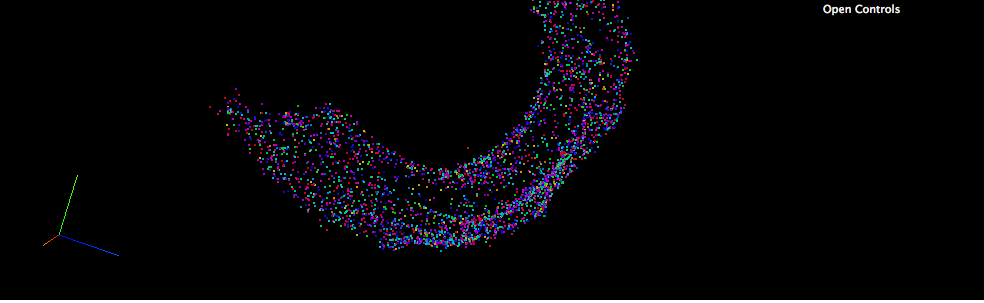
positioning neurons
This step computes cell positions with downscaled densities as an illustration. It then displays the cell positions in a widget.

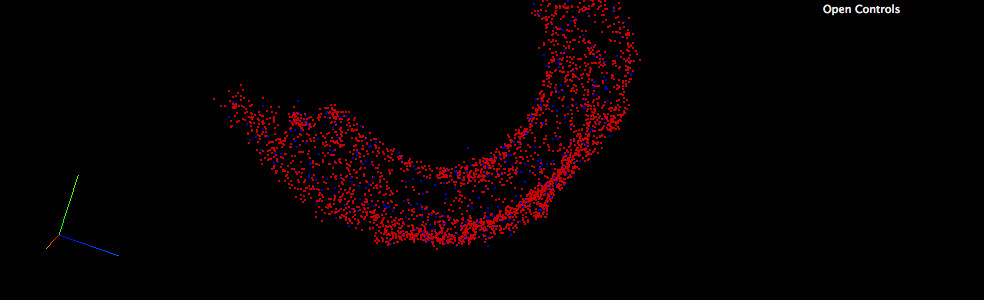
defining excitatory/inhibitory property
This step computes the excitatory/inhibitory property based on the provided ratio and displays it in a widget.
defining M-Type and E-Type properties
This step computes the M-Type property and E-Type property at the same time and displays them in a widget.
M-Type property:
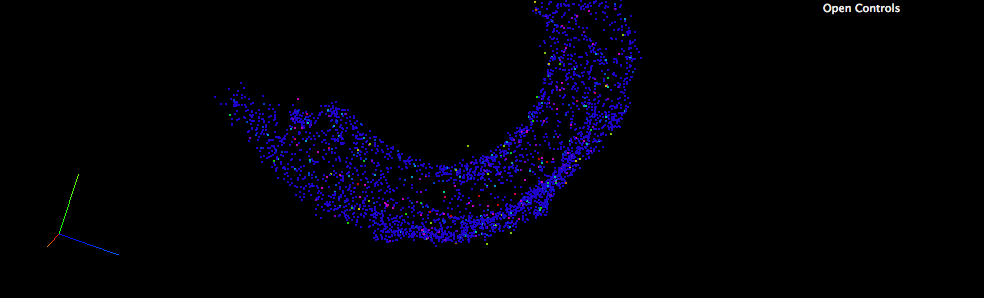
E-Type property:
defining morphology for the cell position
This step computes which morphology will be assigned to a particular cell position.
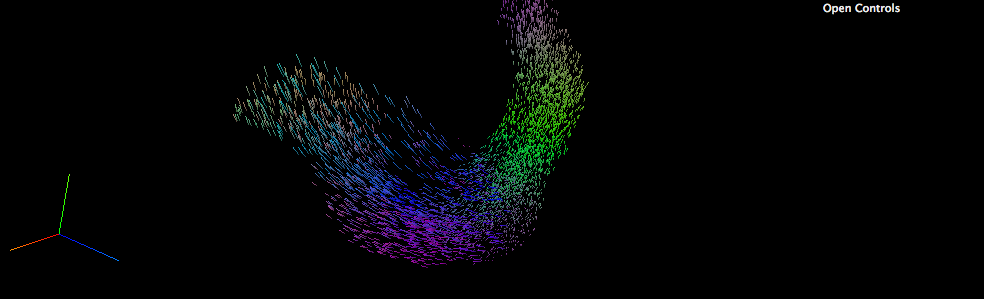
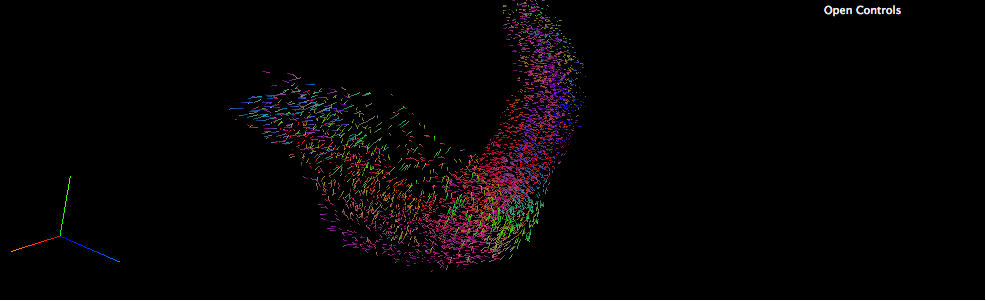
defining cell orientation
This steps computes the 3 vector fields X, Y, and Z and uses them to orient each neuron.
X vector field:
Y vector field:
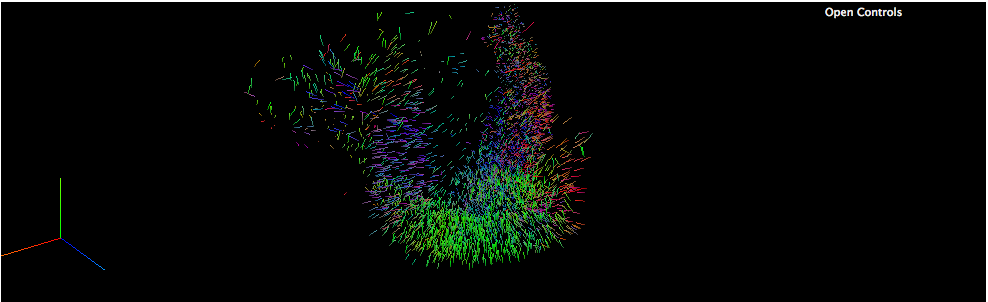
Z vector field: